So, you’re thinking of jumping into the world of 3D animation? Awesome! Whether it’s to explain your business or product, tackle a sensitive topic or just bring a wild idea to life, 3D can do it all.
But before you begin to create your animated masterpiece, it might help to have an understanding of the journey ahead, and the stages involved in making it happen.
Our animation expert (that’s me, iulia! hello!) has put together the ultimate guide to the animation process, split into ‘Pre-production’ and ‘Production’ stages:
Preproduction
 Step 1: The Animation Brief (a.k.a. the plan)
Every great animation starts with a plan, and that’s where the animation brief comes in. This document becomes our trusty guidebook. It includes the concept, the script, your target audience, and all those essential bits of info that keep the whole team on the same page.
Who should be involved at this stage: You and your trusty contributors.
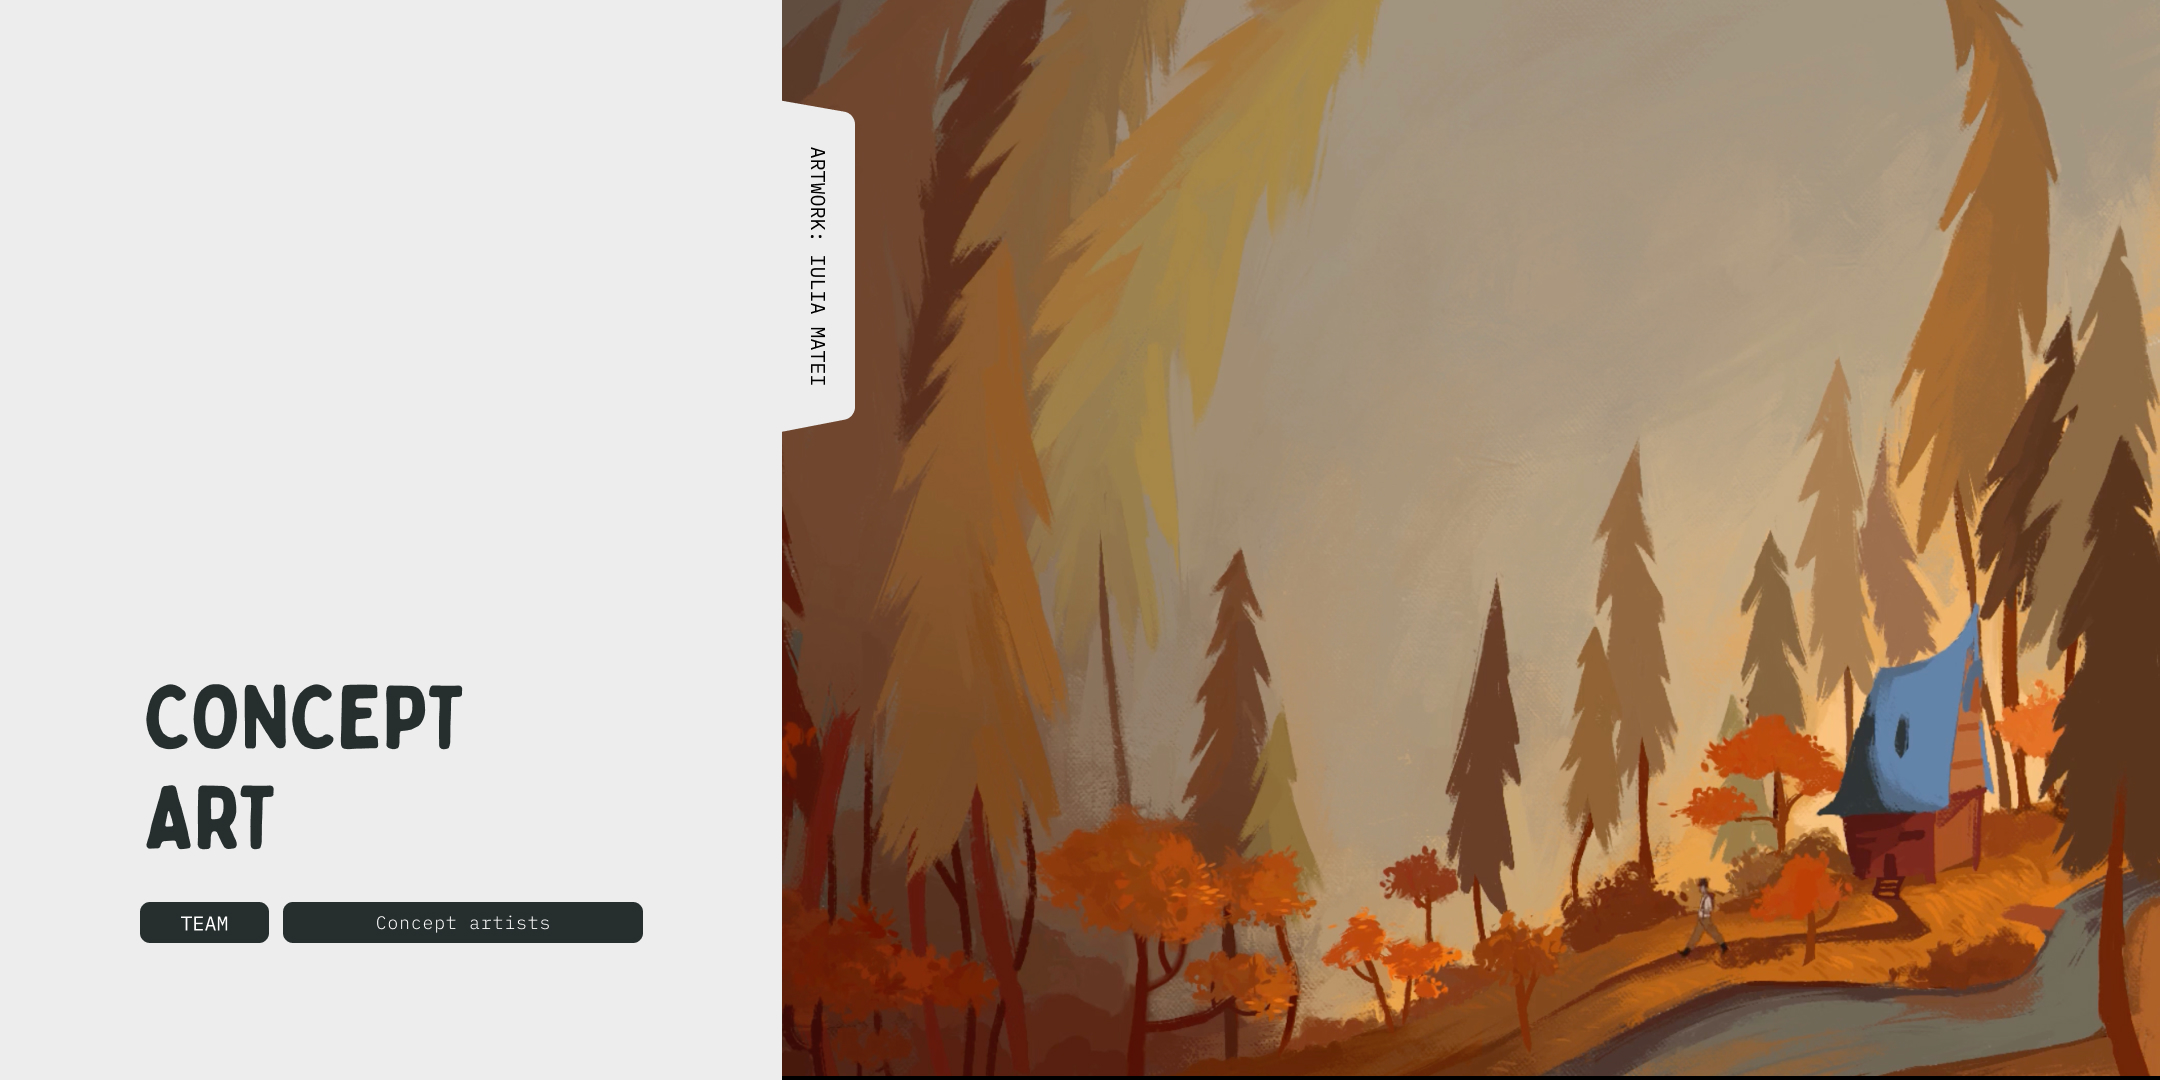 Step 2: Concept Art
This is where your ideas start to take shape! In the Concept Art stage, our team of creative wizards sketch out everything from dreamy landscapes to funky characters. The goal? To capture the mood and style of the animation. It’s all about exploring different looks and ideas — things don’t need to be perfect yet.
Who should be involved at this stage: Environment concept artist, character concept artist, texture and lighting artist.
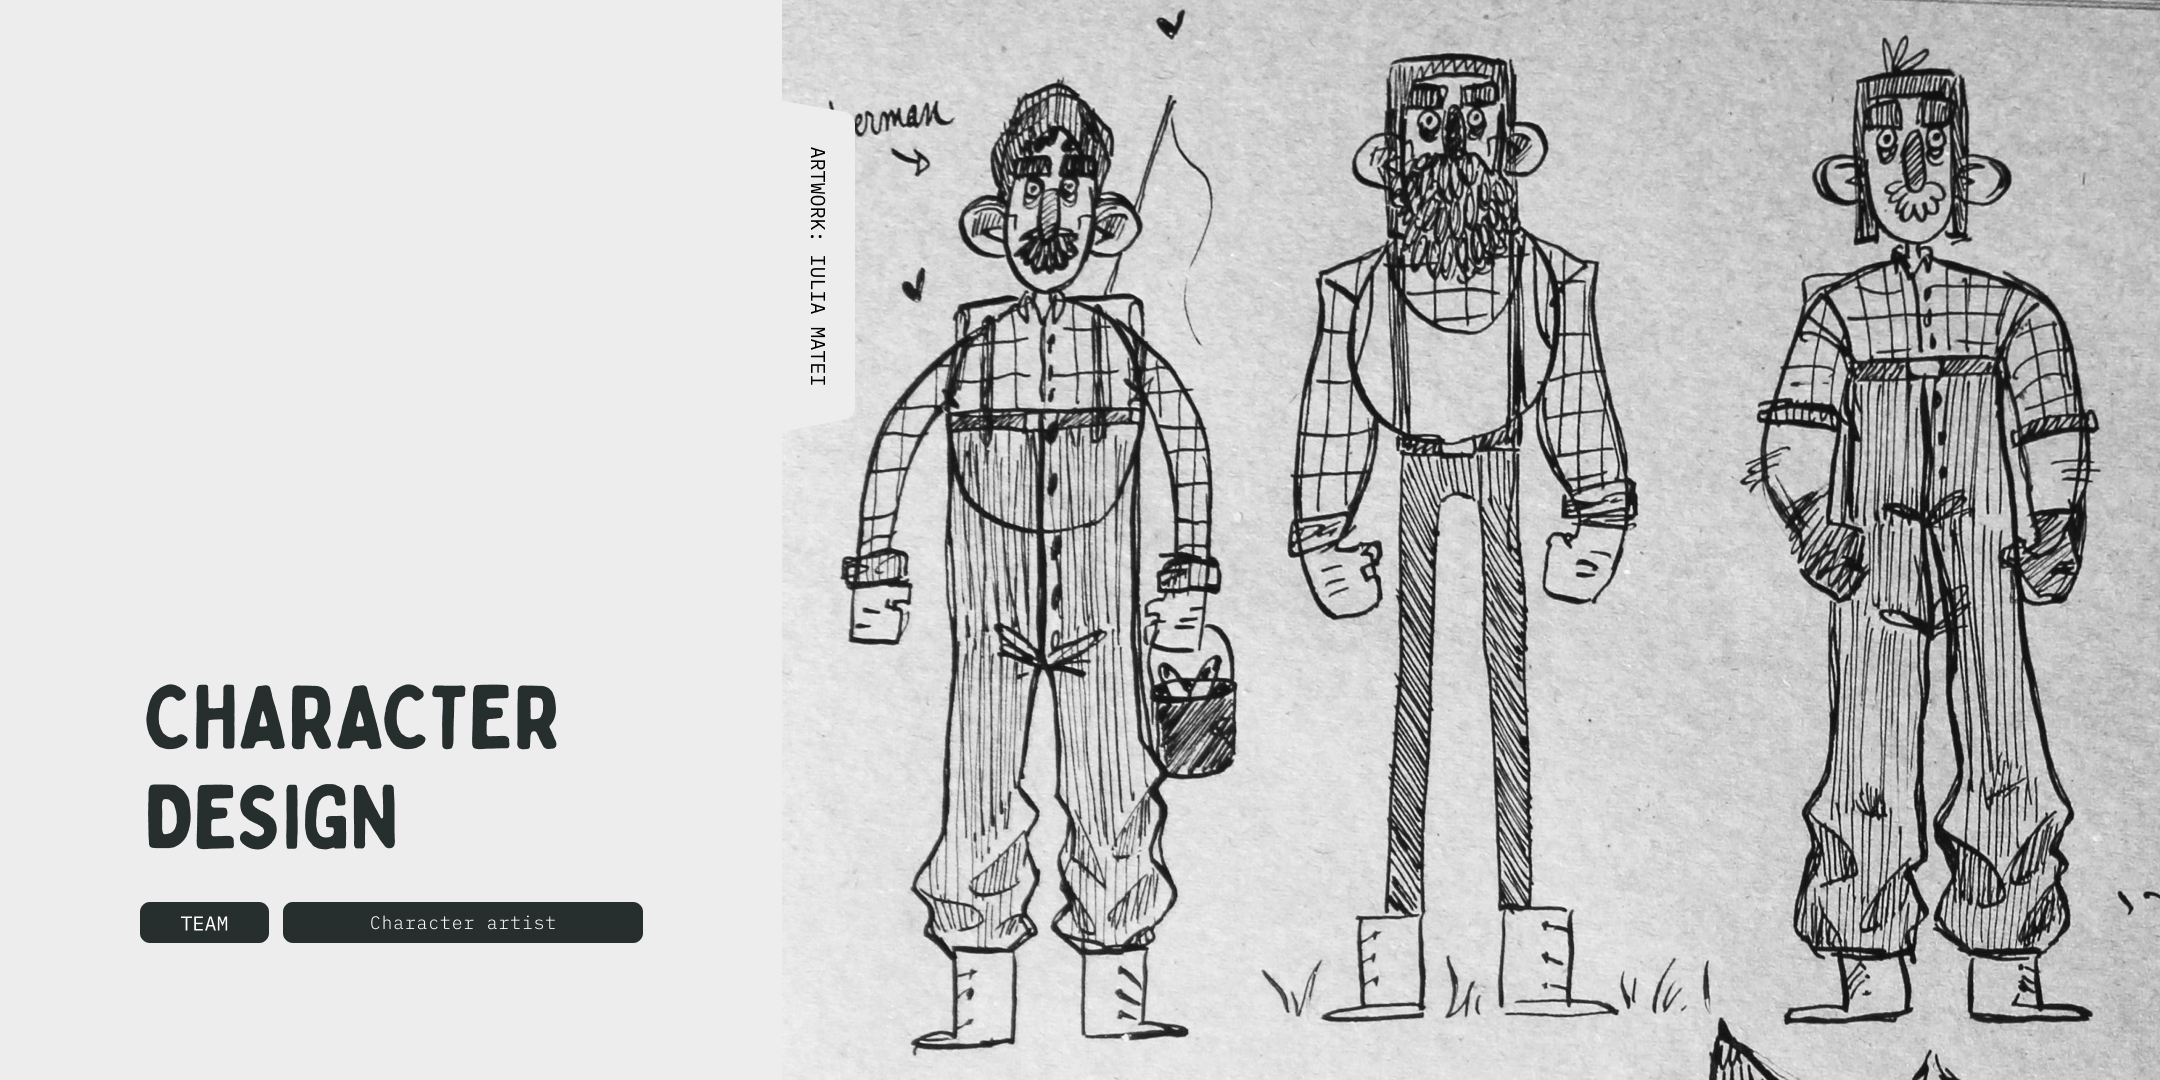 Step 3: Character Design
Now it’s time to get up close and personal with the characters. We’ll create detailed concepts for your characters, thinking about everything from their hairdos and outfits to their facial expressions and props. Basically, we give them personality and style.
Who should be involved at this stage: Character artist.
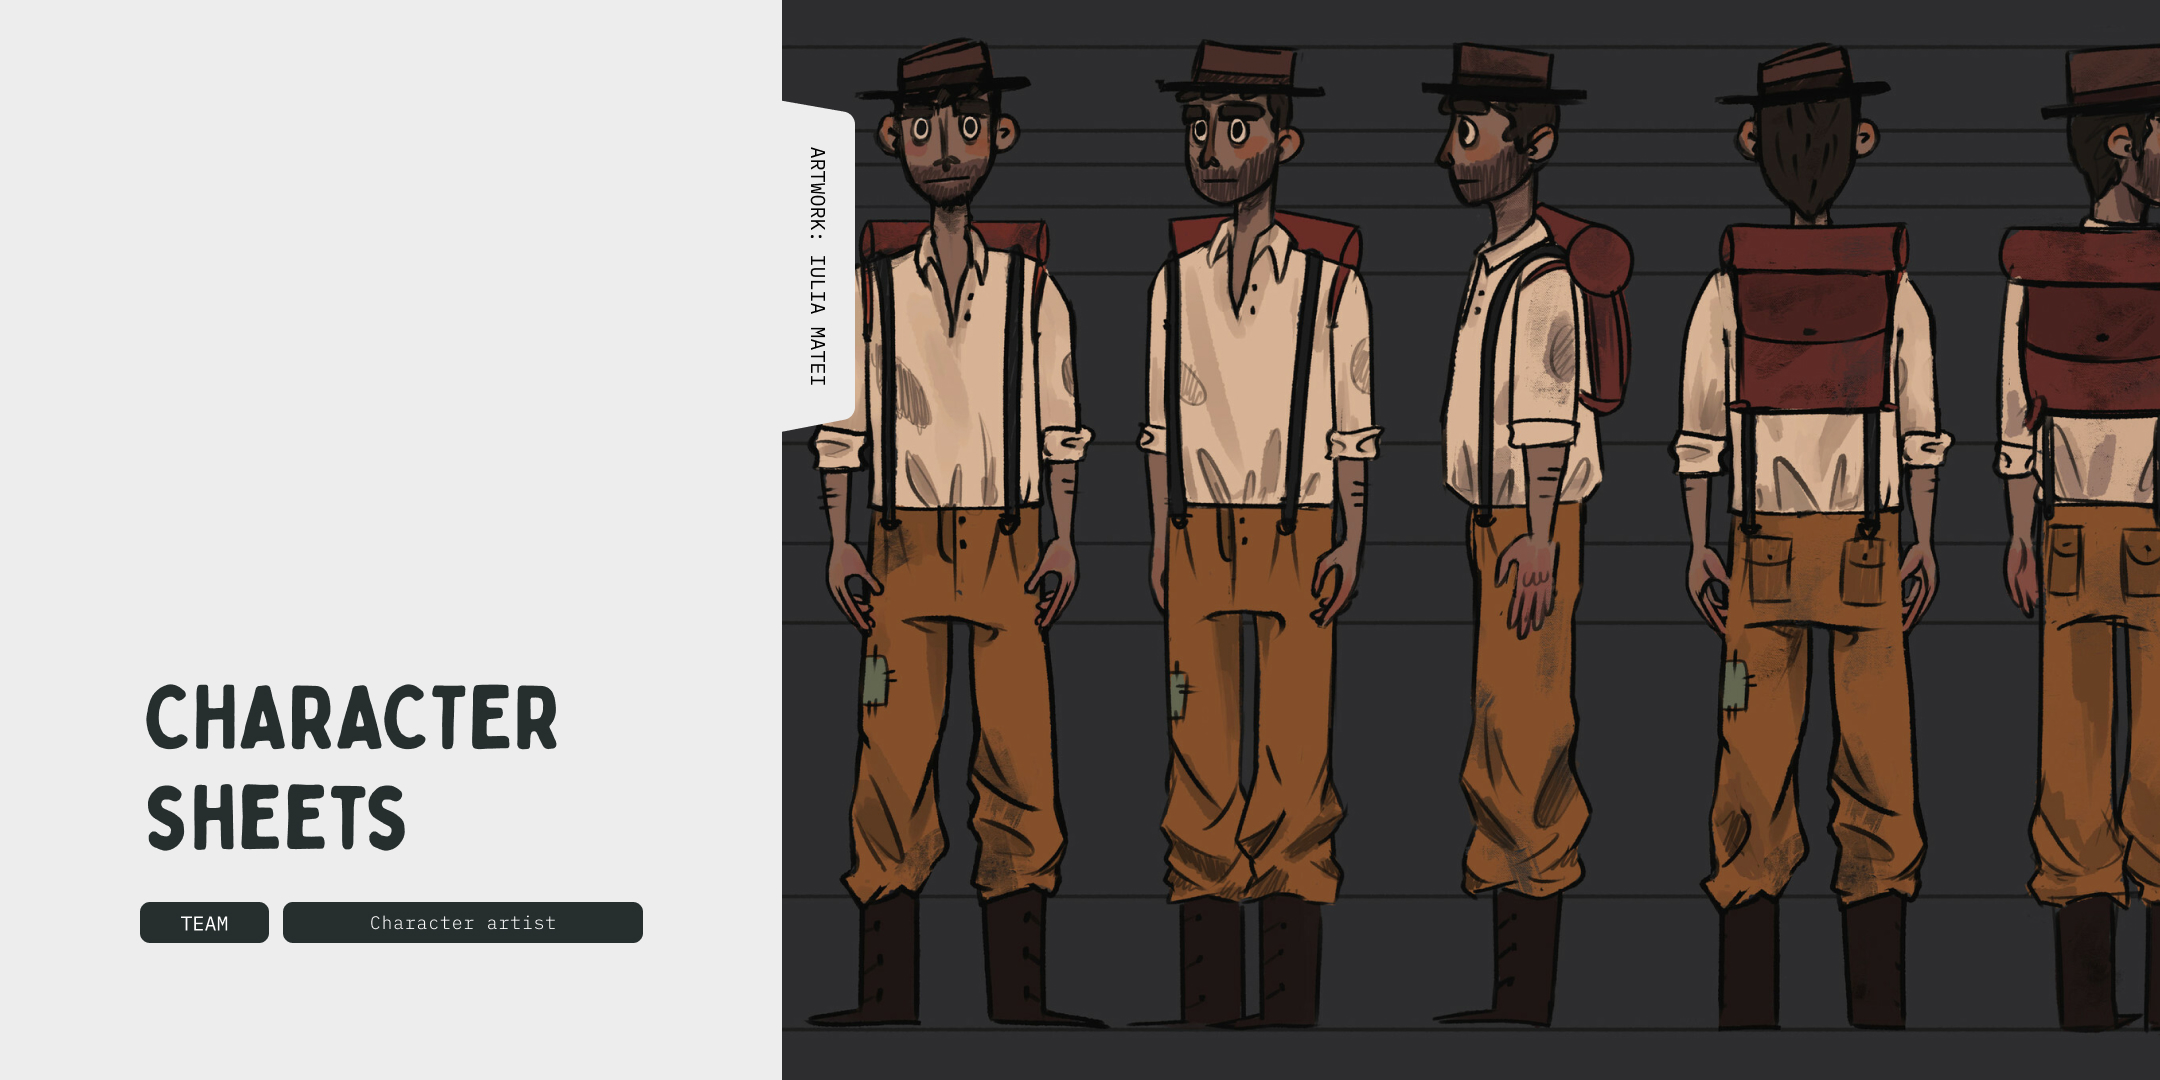 Step 4: Character Sheets (the blueprint)
Next, we turn your characters into detailed Character Sheets. These 2D drawings are like the blueprints for the 3D modellers to follow. Think of them as a cheat sheet for building your characters with all the right details. We might even throw in a few different facial expressions and outfits for good measure.
Who should be involved at this stage: Character artist.
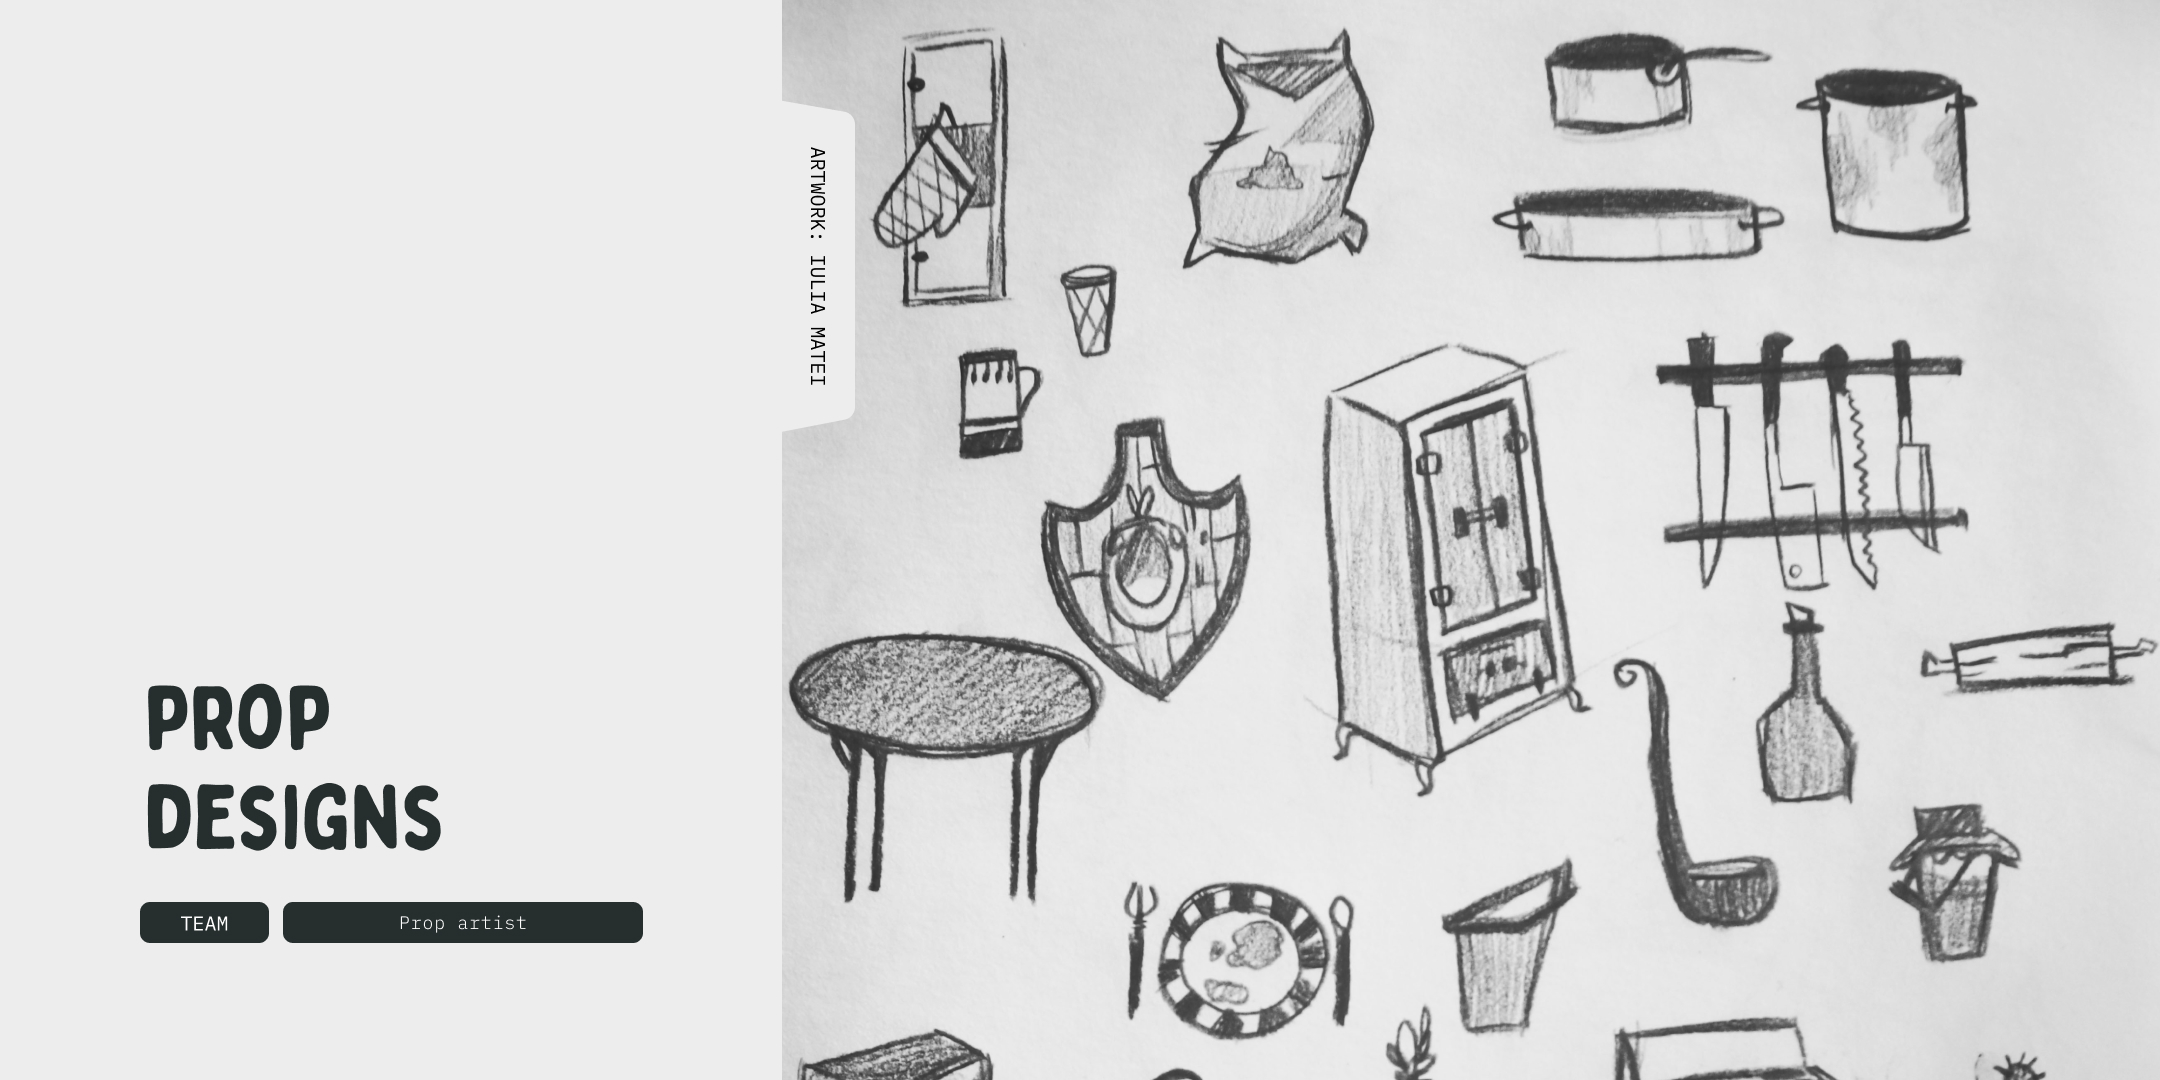 Step 5: Prop Designs
Characters need stuff, right? Whether it’s a magical sword or a quirky coffee cup, the Prop Designs are where we create those little details. Again, these are done in 2D and handed over to the 3D modellers.
Who should be involved at this stage: Prop artist.
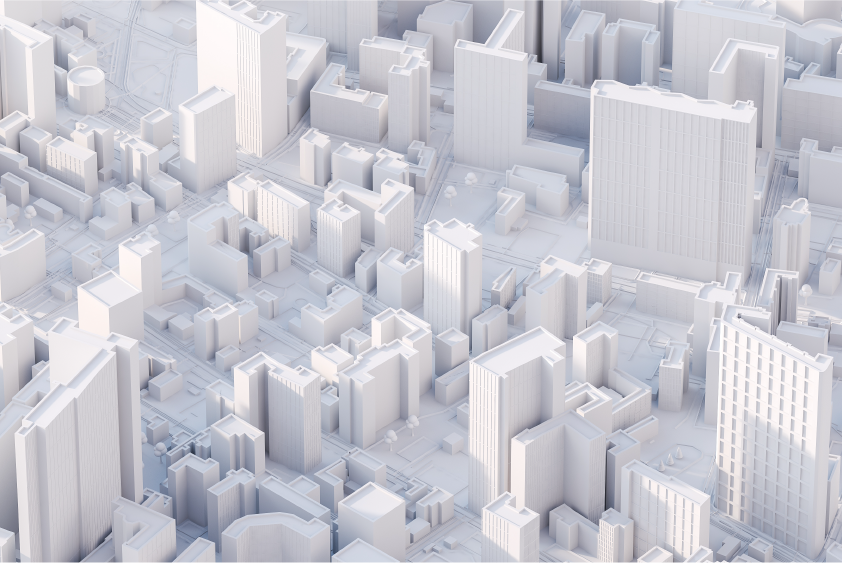
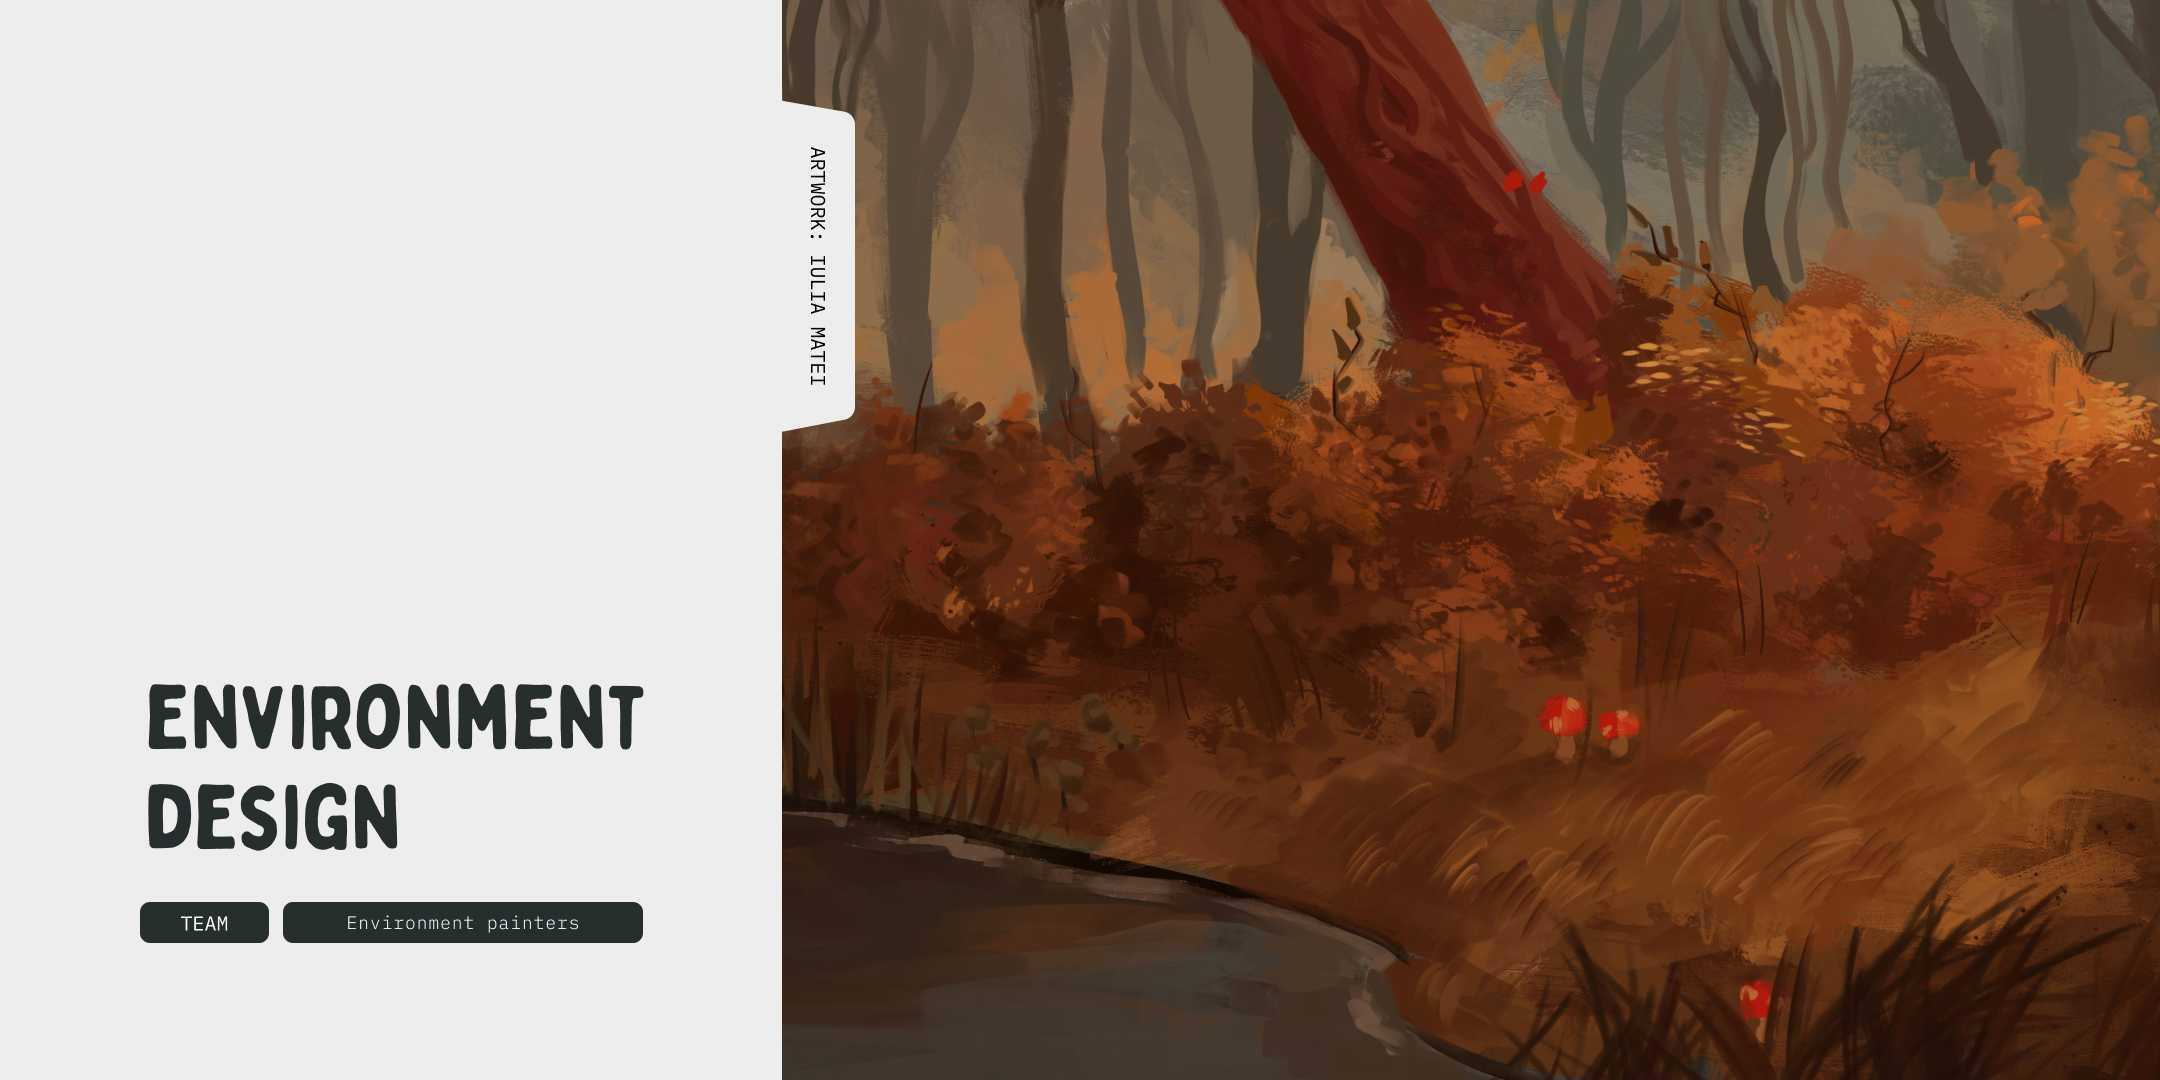 Step 6: Environment Design (setting the stage)
Your characters need a world to live in, so we move on to Environment Design. We create the scenery and sets where the action will unfold. Whether it's a mystical forest or a bustling cityscape, we make sure it fits perfectly with the mood of your animation.
Who should be involved at this stage: Environment painters.
 Step 7: Storyboard
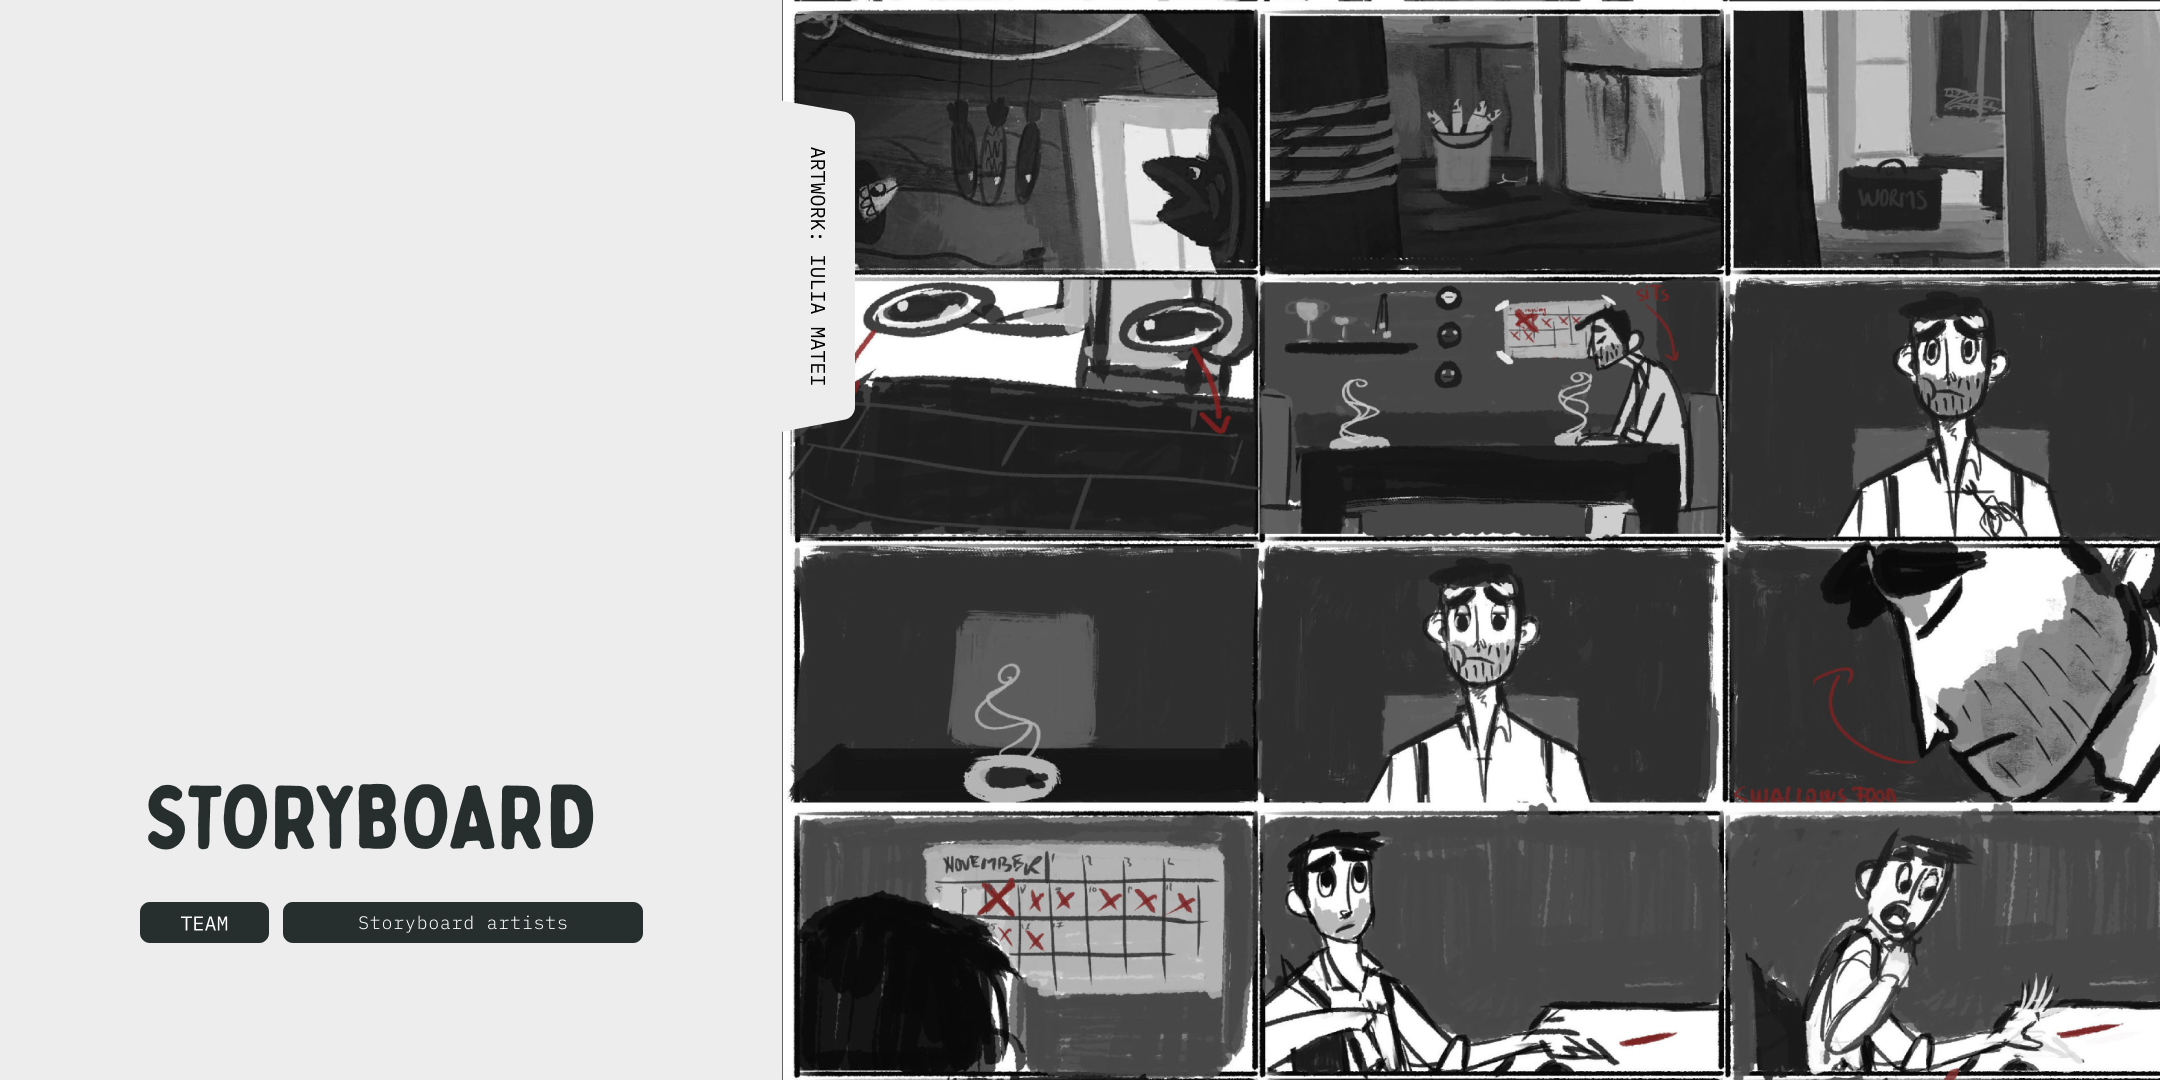
This is where the whole story comes together. In the Storyboard stage, we sketch out the animation scene by scene, thinking about camera angles, movement, and flow. It’s like a rough comic strip that shows how everything will fit together. Super important for getting the pacing just right!
Who should be involved at this stage: Storyboard artists.
 Step 8: Voice Actor Casting (finding the voices)
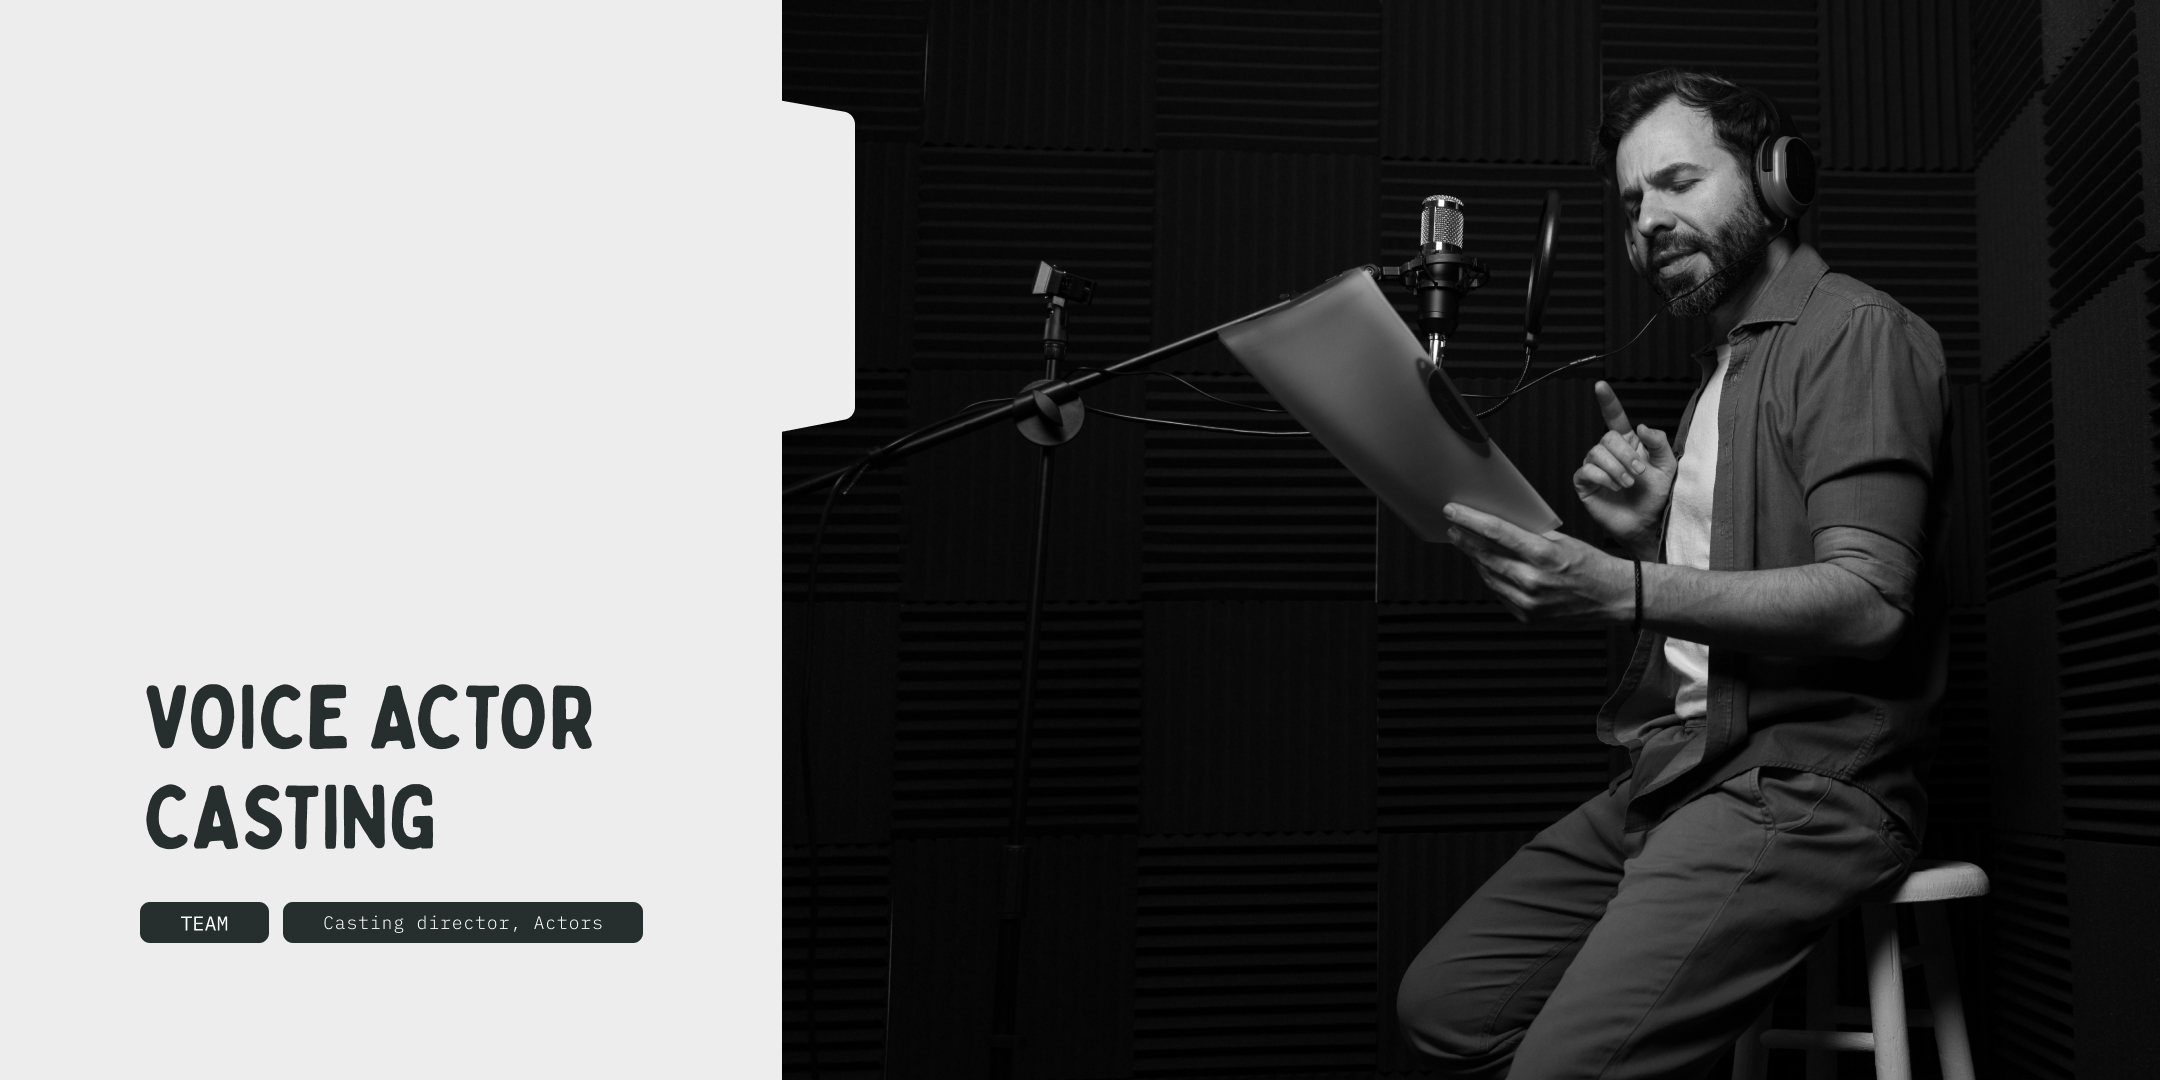
Got characters? Now they need voices! The casting process involves finding the perfect voice actors to match your characters' personalities. Whether it’s a gruff villain, a bubbly sidekick or a wise elder, we’ll help find the voices that bring your animation to life.
Who should be involved at this stage: Casting director, actors.
Production
 Step 1: 3D Modelling (building your world)
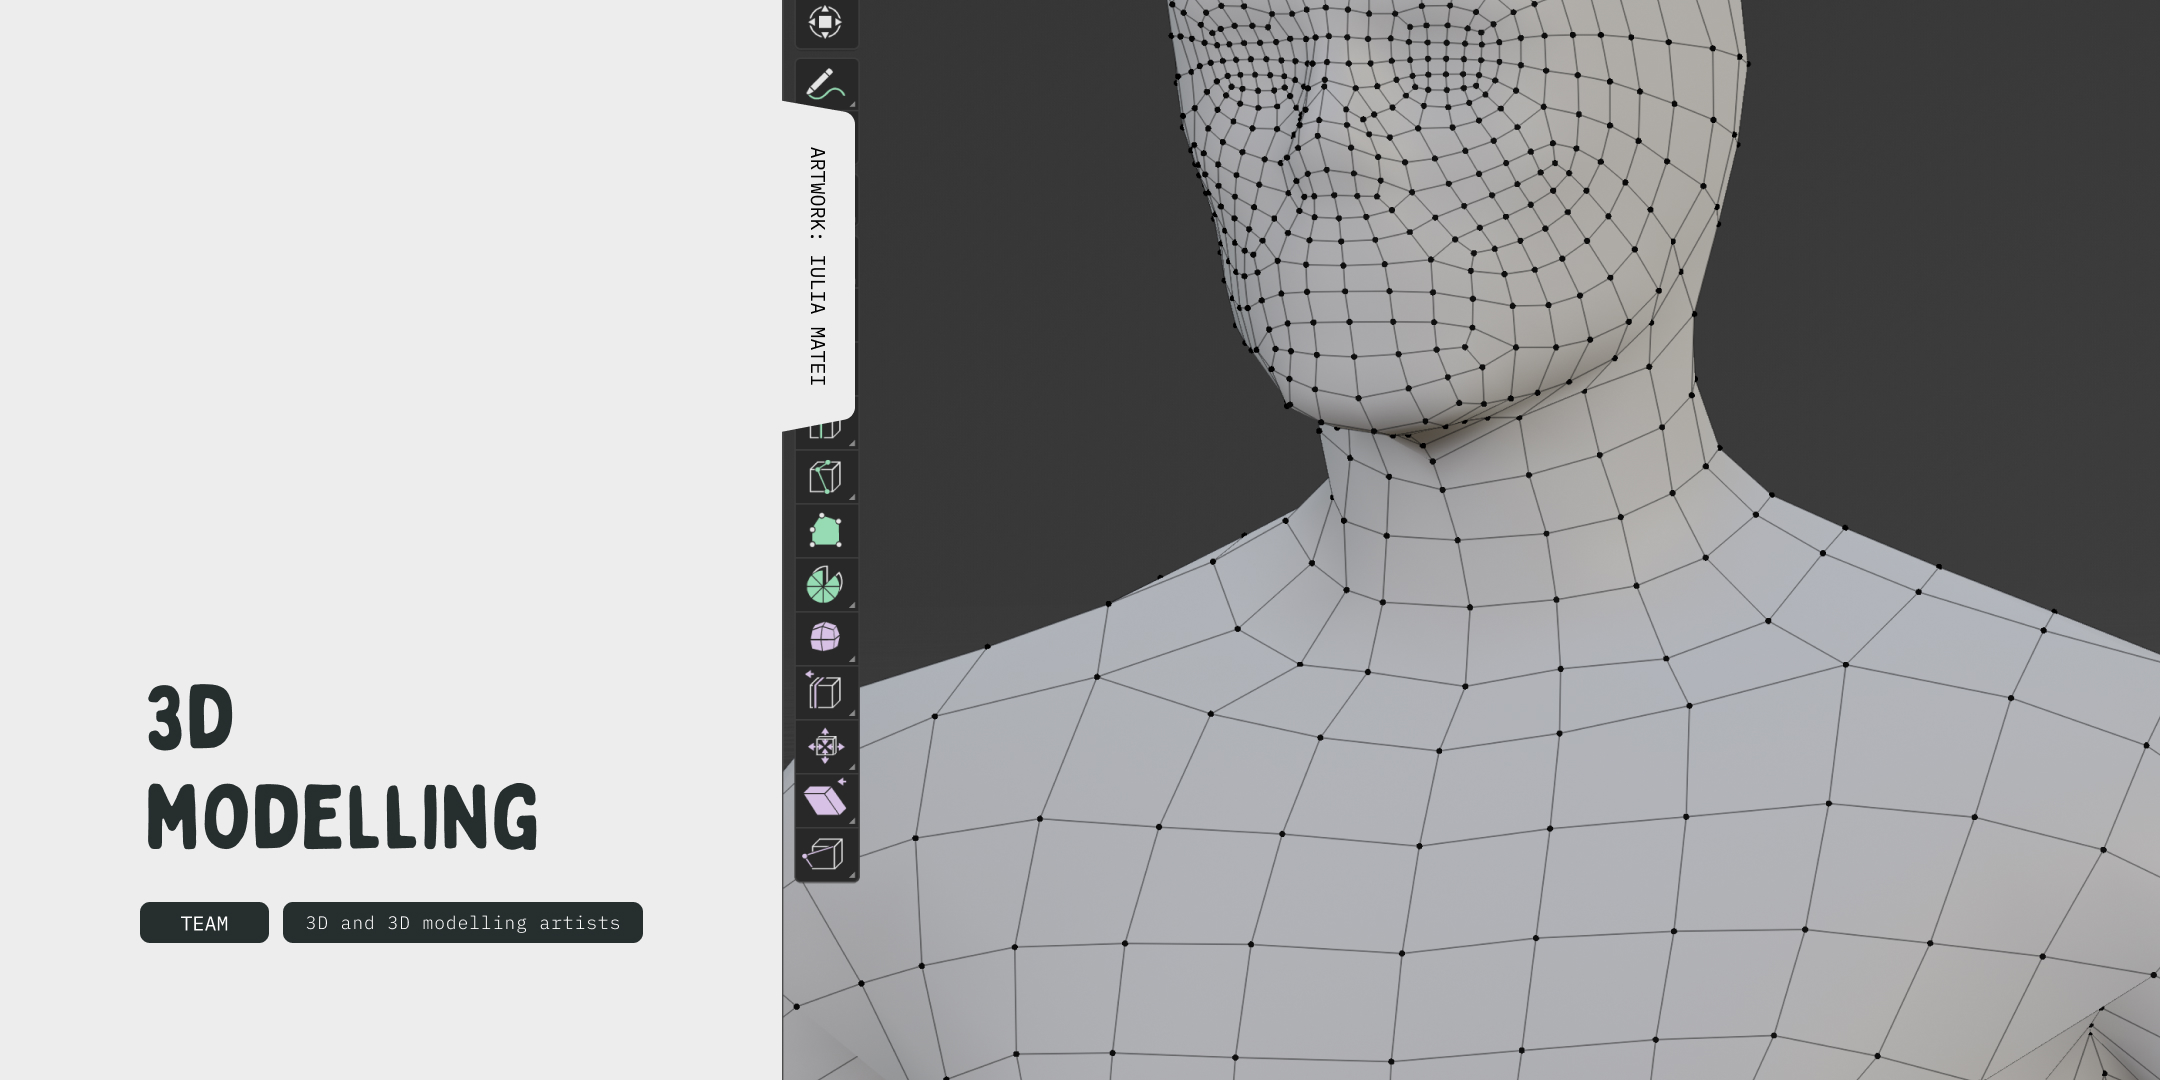
Now we’re getting into the nitty-gritty! In the 3D Modelling stage, our artists start building the 3D versions of your characters, props, and environments. Everything we designed in 2D becomes a fully realised 3D model.
Who should be involved at this stage: 3D artists.
 Step 2: Texturing (making it look real)
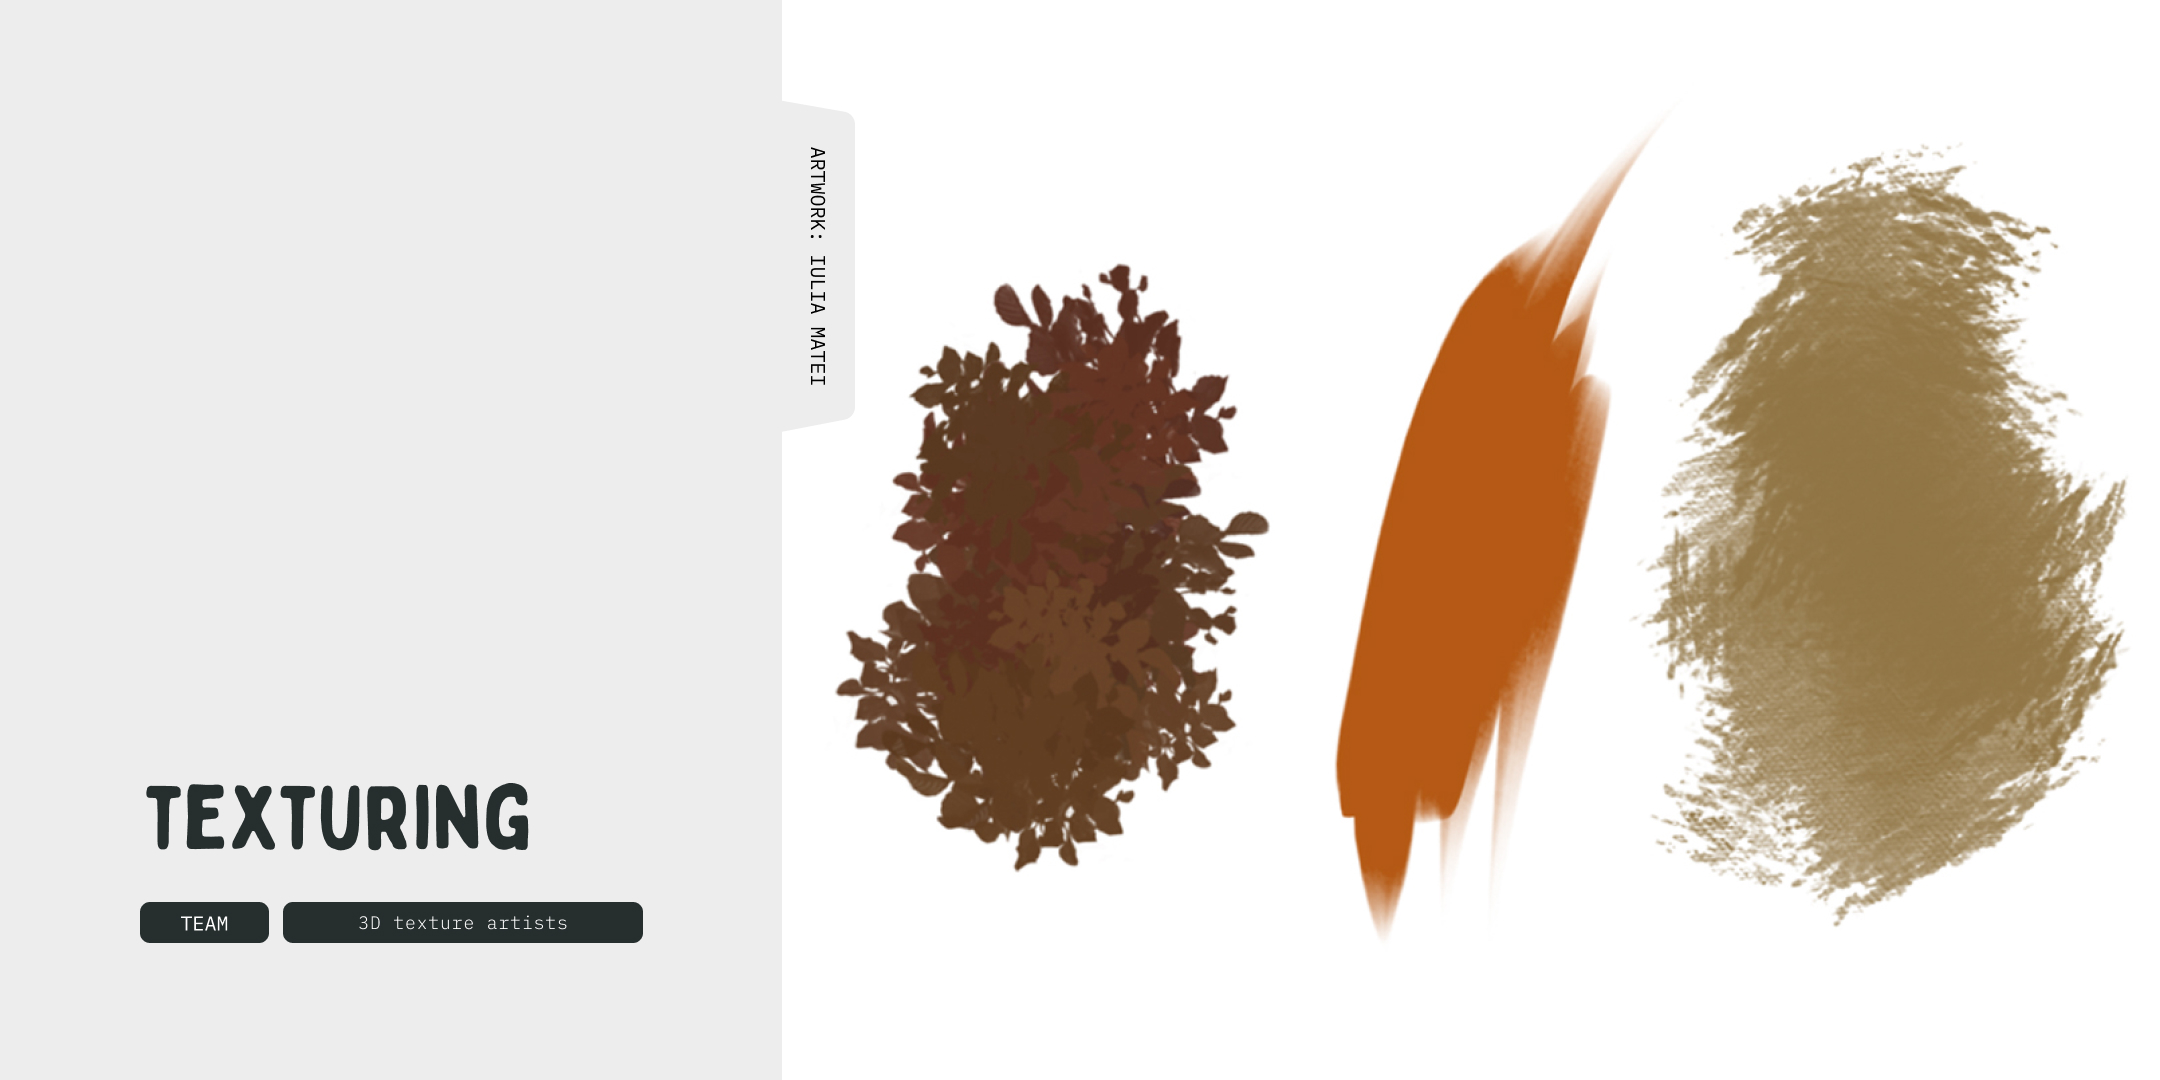
Once the models are built, we add texture and colour to them. This is called Texturing and is where things start to really look like the concept art. We’ll make sure your characters have the right skin tones, your props have the right sheen, and your landscapes look magical (or moody, depending on the vibe).
Who should be involved at this stage: 3D texture artists.
 Step 3: Rigging
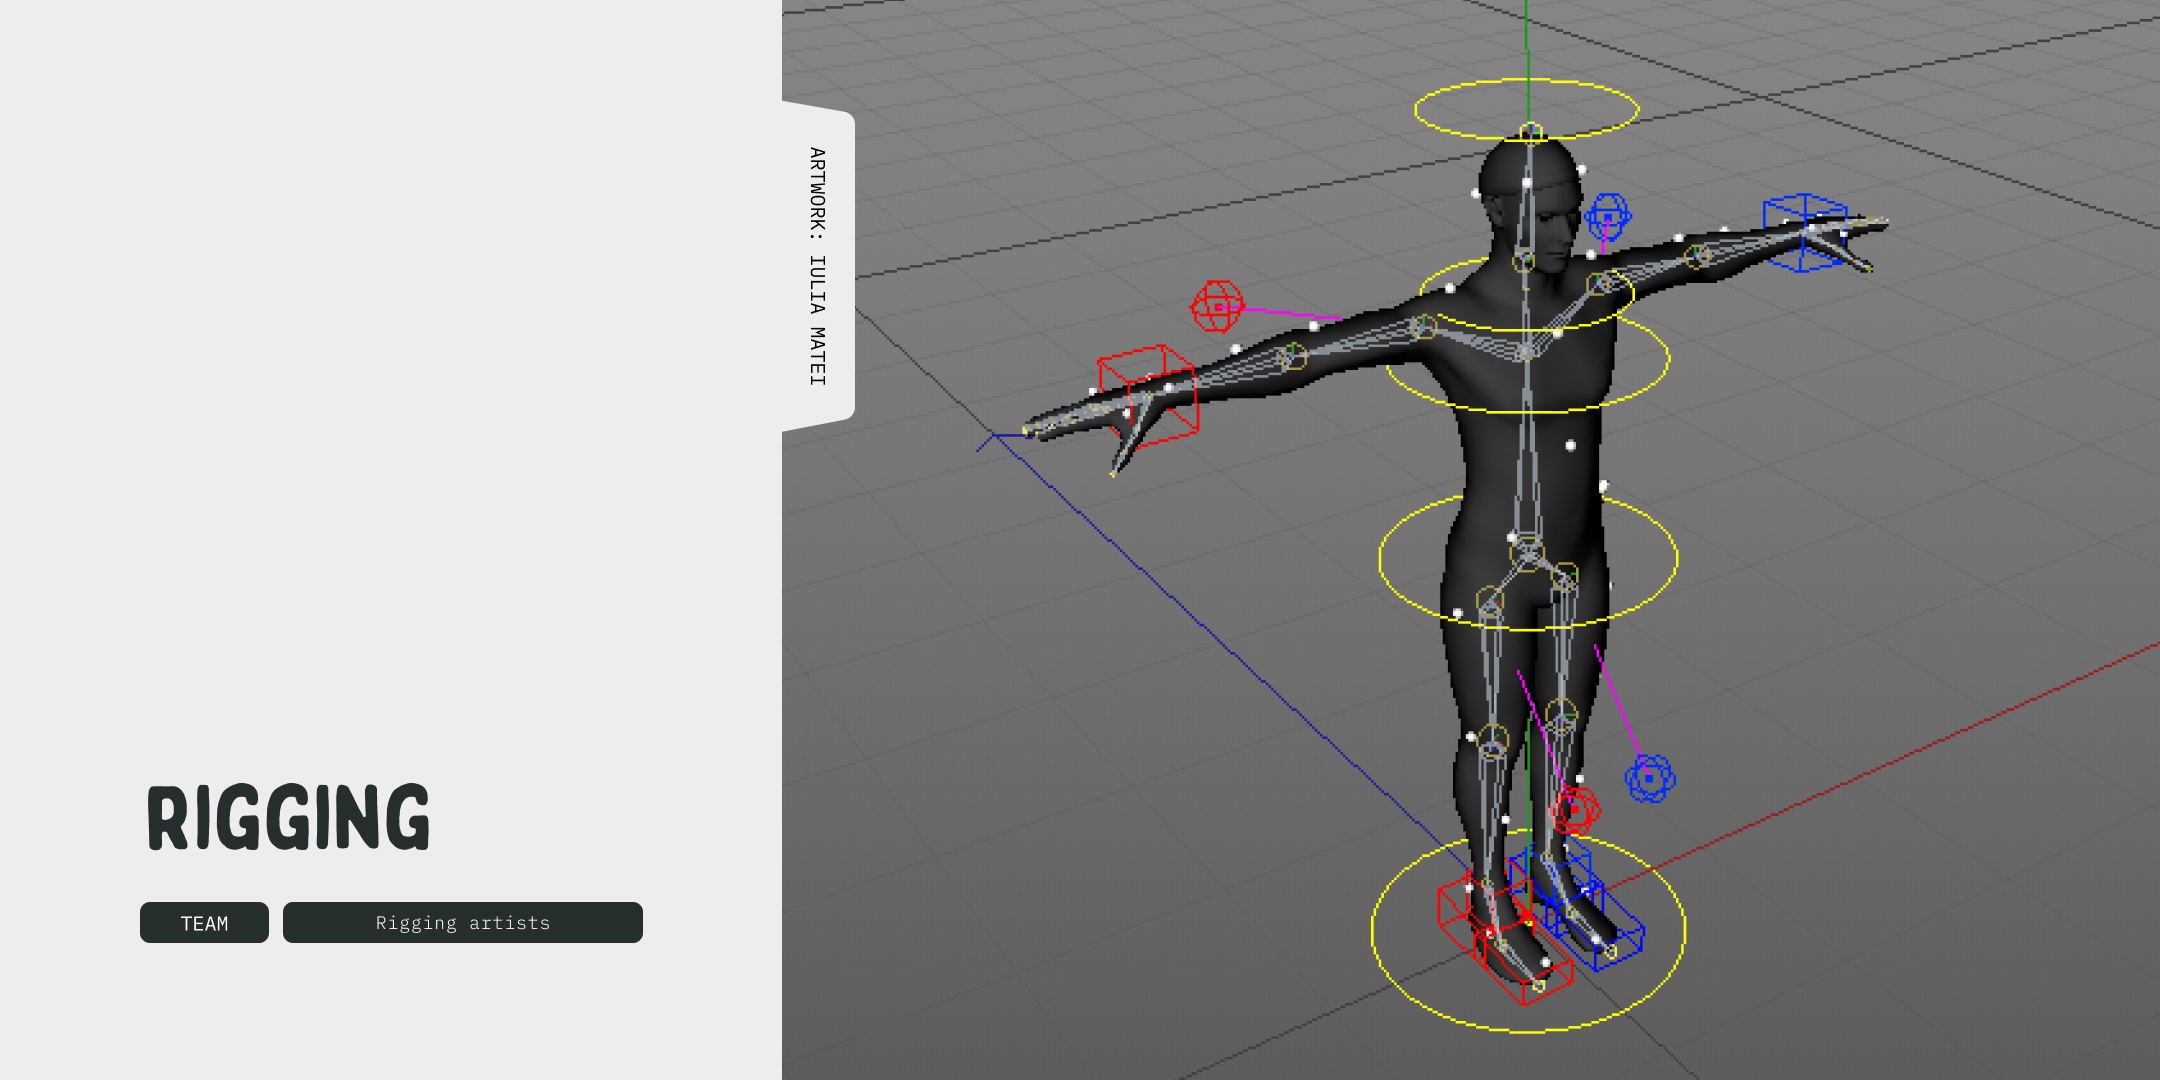
Ever tried to animate a stiff model? Doesn’t work! That’s why we need Rigging. Think of it as adding a digital skeleton to the characters so they can move. It’s what allows us to control how your characters walk, wave, or do a backflip.
Who should be involved at this stage: Rigging artists.
 Step 4: Animation
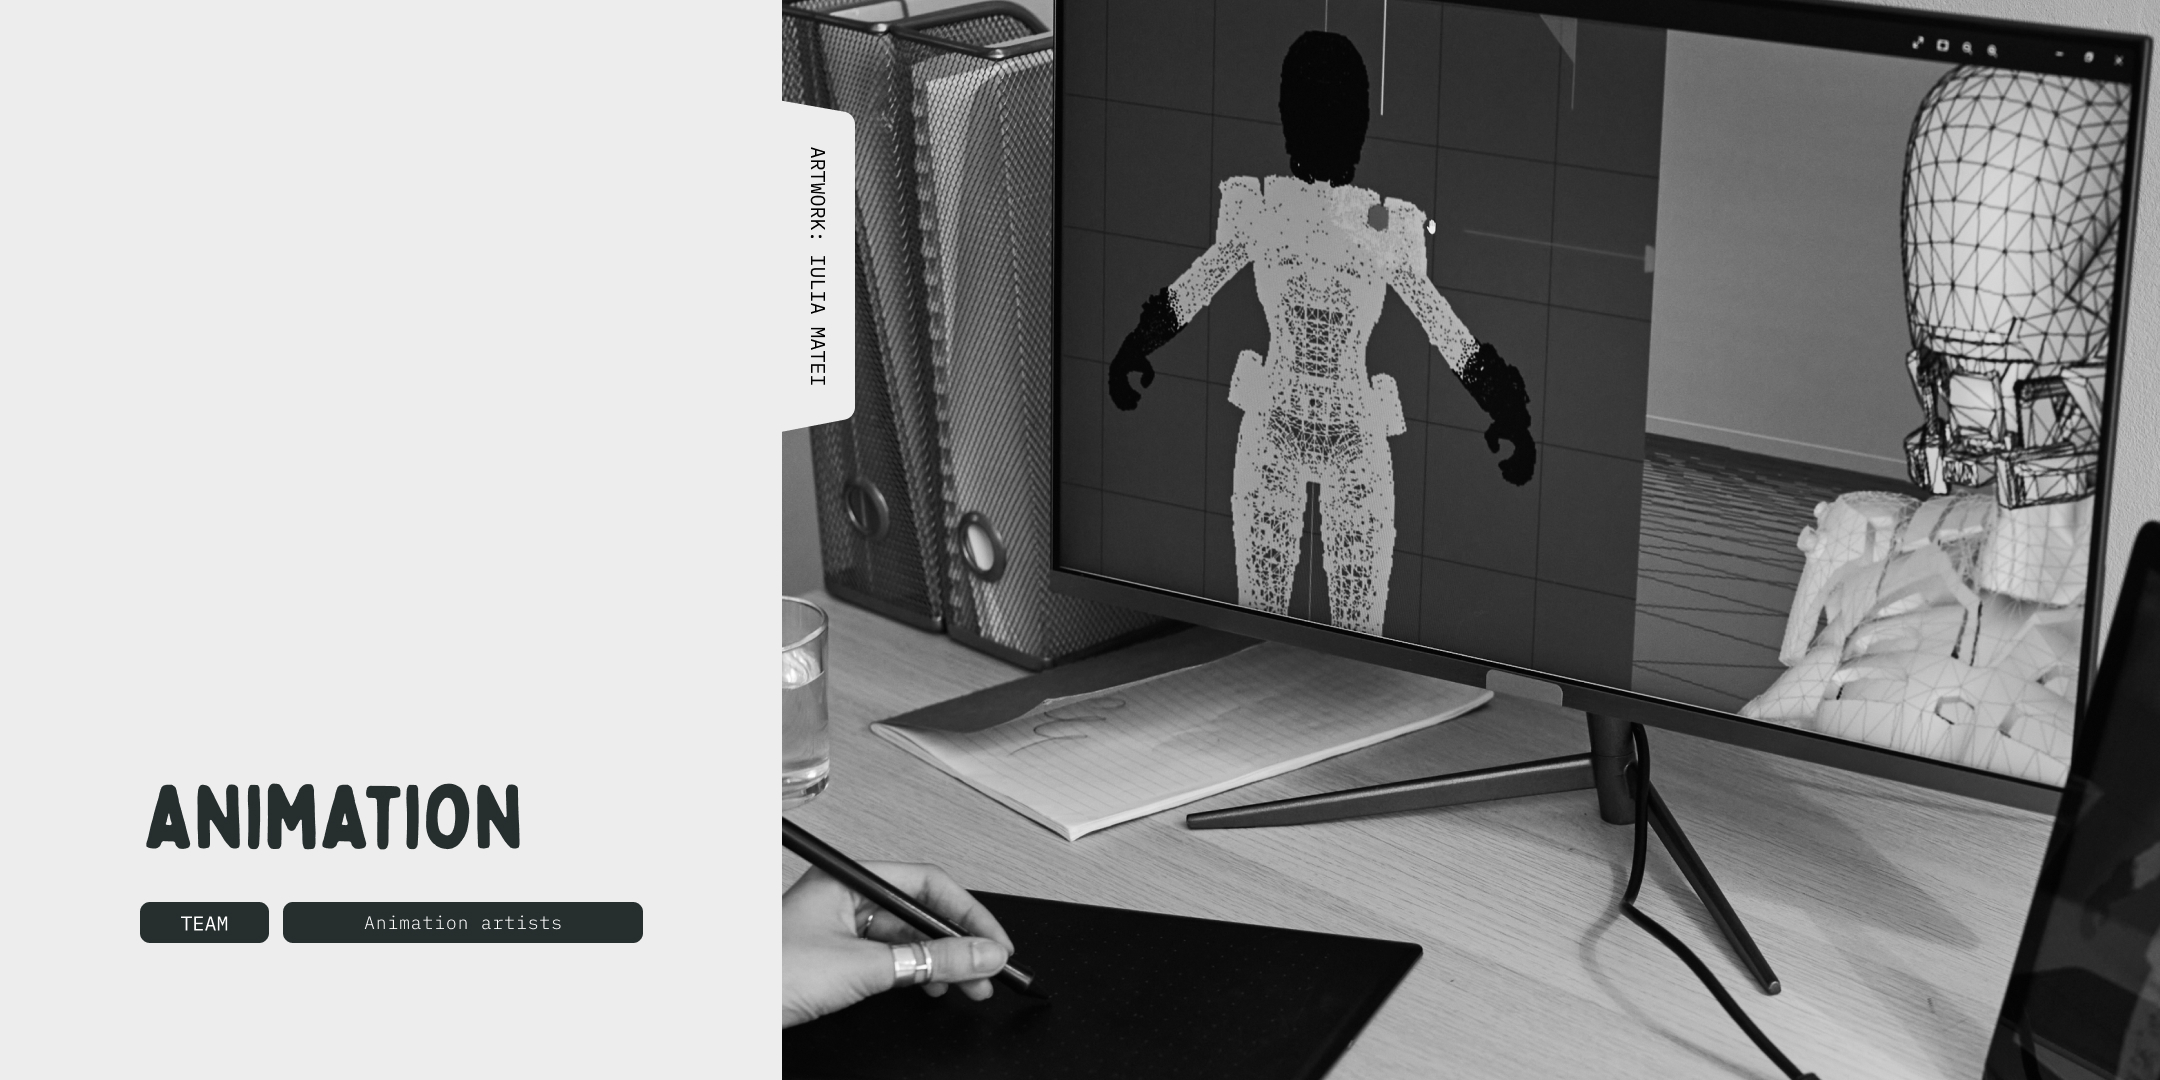
Here comes the fun part! With all the models rigged and ready to go, we start animating. Animation is where the characters move, talk, and act. Whether it’s a dramatic dialogue scene or an epic action sequence, this is where the magic happens.
Who should be involved at this stage: Animation artists.
 Step 5: Environments
Depending on the complexity of your animation, we might use 2D or 3D environments. These are the digital sets where the action takes place. Sometimes a painted 2D background does the trick, but for more complex animations, we’ll build fully 3D environments.
Who should be involved at this stage: Environment artists.
 Step 6: Lighting
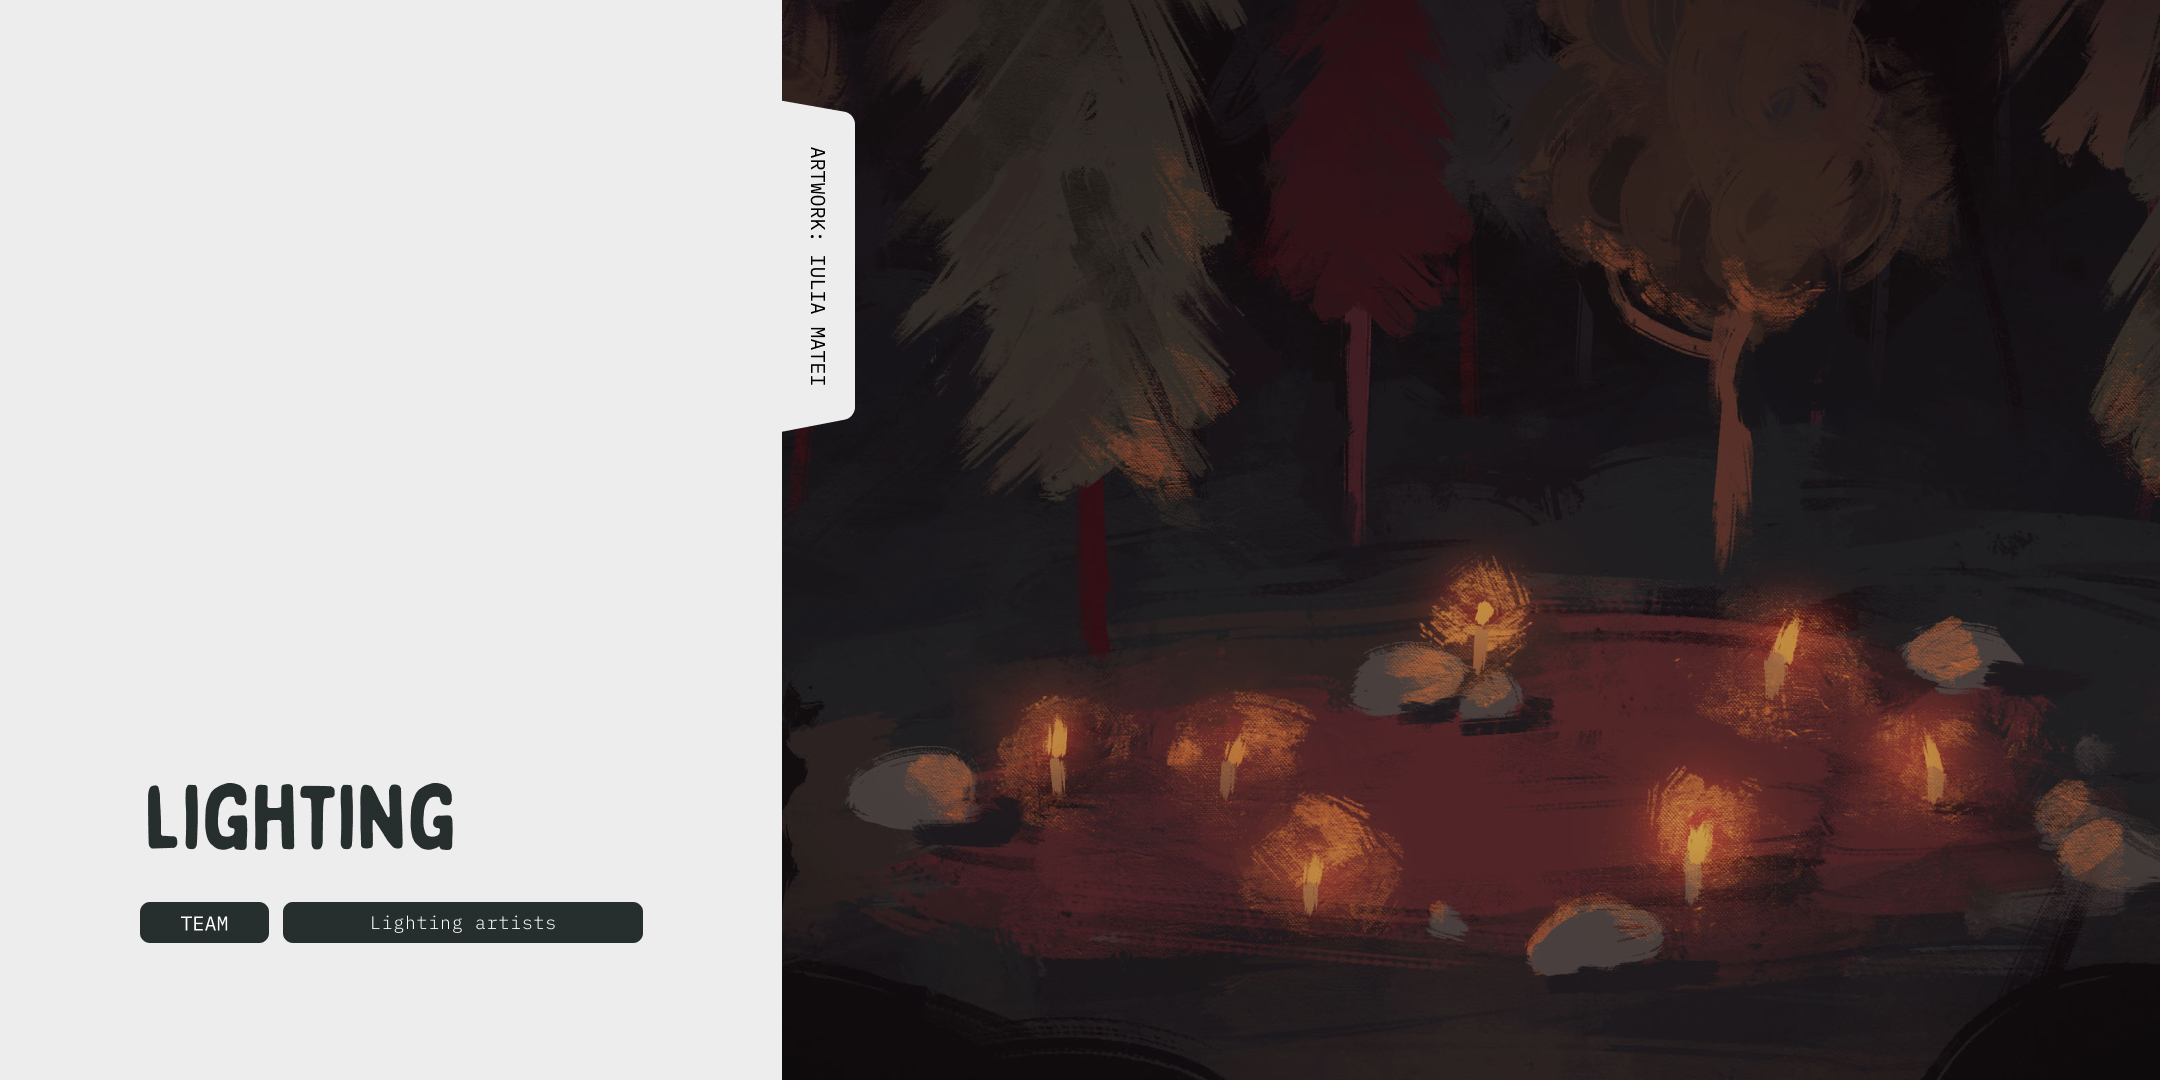
Now we add lighting to set the mood. The Lighting stage is all about making the animation feel real (or surreal, if that’s what we’re going for). Lighting artists will make sure everything looks natural, moody, or cinematic – whatever fits your vision.
Who should be involved at this stage: Lighting artists.
 Step 7: Rendering
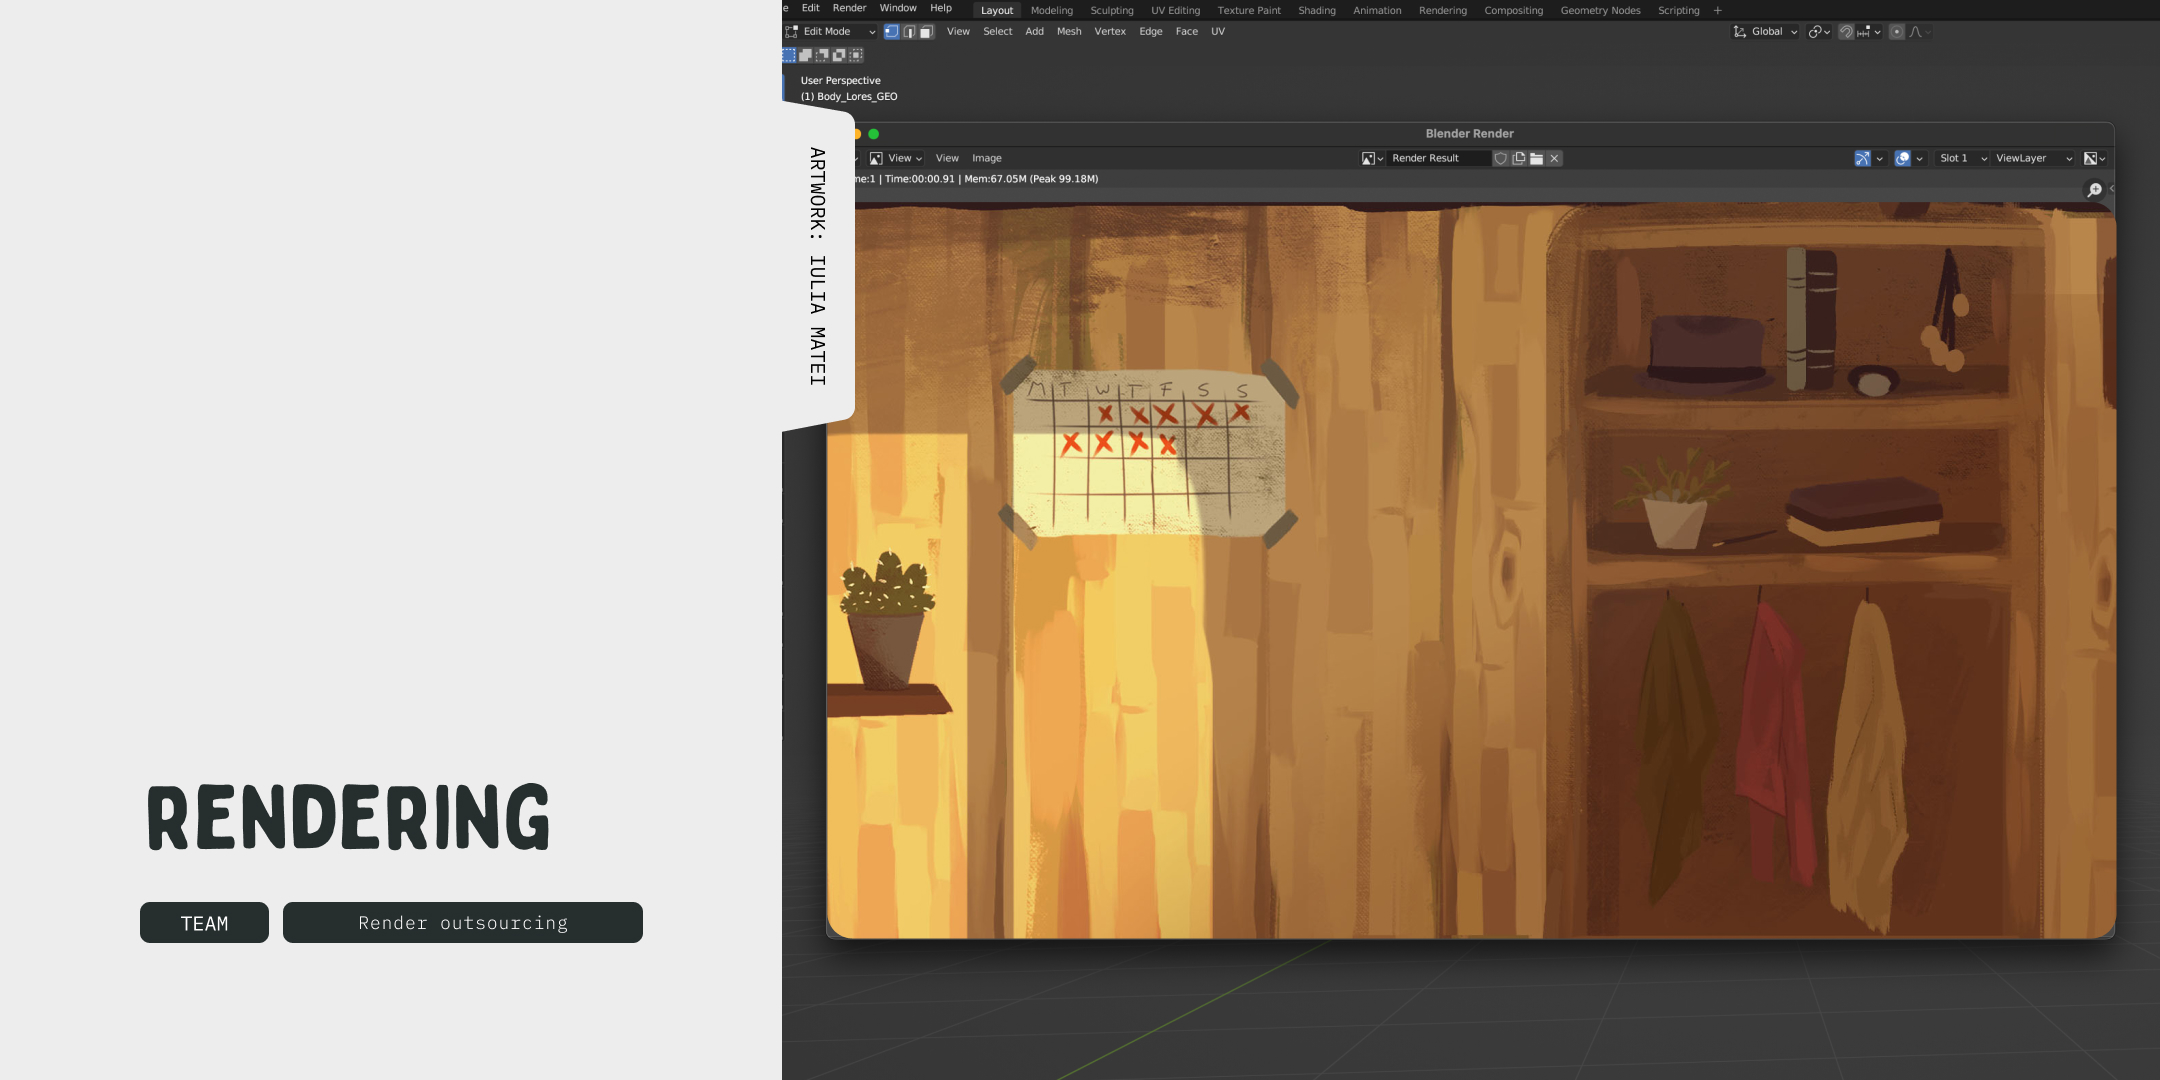
Rendering is the part where we take everything we’ve created and export it as a video file. It’s a bit like waiting for a cake to bake – you’ve done all the hard work, now you’ve just got to wait for the magic to be processed and ready to watch.
Who should be involved at this stage: Render outsourcing.
 Step 8: FX (adding the wow factor)
If your animation needs a little extra oomph, we call in the FX team. They add effects like fire, water, smoke, and sparkles (because who doesn’t love a good sparkle?) to make your animation really stand out.
Who should be involved at this stage: VFX team.
 Step 9: Sound Design
Sound design is what makes the whole thing come together. It’s the music, sound effects, and atmosphere that set the emotional tone of your animation. A perfectly placed sound can make a huge difference to how a scene feels. Trust us, sound can be a game-changer!
Who should be involved at this stage: Sound designer, composers, Foley artists.Step 10: Video Editing
Last but not least, we piece everything together in the Video Editing stage. We stitch all the scenes into one smooth animation, making sure it flows seamlessly. Then we add the final touches, like transitions, effects, and sound syncing.
Who should be involved at this stage: Editors.
And that’s it! 3D from start to finish…
Following this structure will make the process collaborative, and fun. Of course every animation project is unique, so stages may adapt to your animation style and budget.
If you’re unsure whether 3D or 2D is best for your project, or you’re looking for a bespoke quote, please get in touch.
Who wrote this?

She / her. Iulia is Rusty Monkey’s animation, illustration and 3D expert. Responsible for making everything beautiful, she also dabbles in graphic design and UX design. Among her credits is an animated music video for local parody heavy metal band Evil Scarecrow. A talented artist, she showcases her work on her Instagram channel. She usually spends most of her time in some random corner of the house with a drawing tablet and a pen, scribbling away. Cat obsessed. Professional house plant killer. Autumn lover. Maker of things.
Need help with your business?